First Launch and Workspace Tour
Use this page to confirm first launch, find the main work areas, and learn the path from engineering to runtime.
Before You Start
Make sure:
- Editor is installed and opens successfully
- you have completed the initialization flow in Download and Install
- you want to understand the workspace before building your first project
What You Will Learn
In this walkthrough, you will:
- confirm that Editor opens correctly
- identify where projects are created and opened
- identify where tags, views, and runtime are located
- understand the shortest path from first launch to a buildable project
Step 1: Open the Project Manager
After launching Editor, you should land on the Project Manager.

This is the engineering entry point.
If you do not see this page, reopen Editor from the desktop or Start menu.
Step 2: Create or Open a Project
In the Project Manager:
- create a blank project if this is your first time
- or open an existing project if one already exists
- enter the engineering workspace
On day 1, only verify that you can reach the main workspace.
Step 3: Learn the Three Main Work Areas
Before you build anything, identify these three areas: tags, views, and runtime.
Tags
Open the tag area to see where device and internal values are configured.
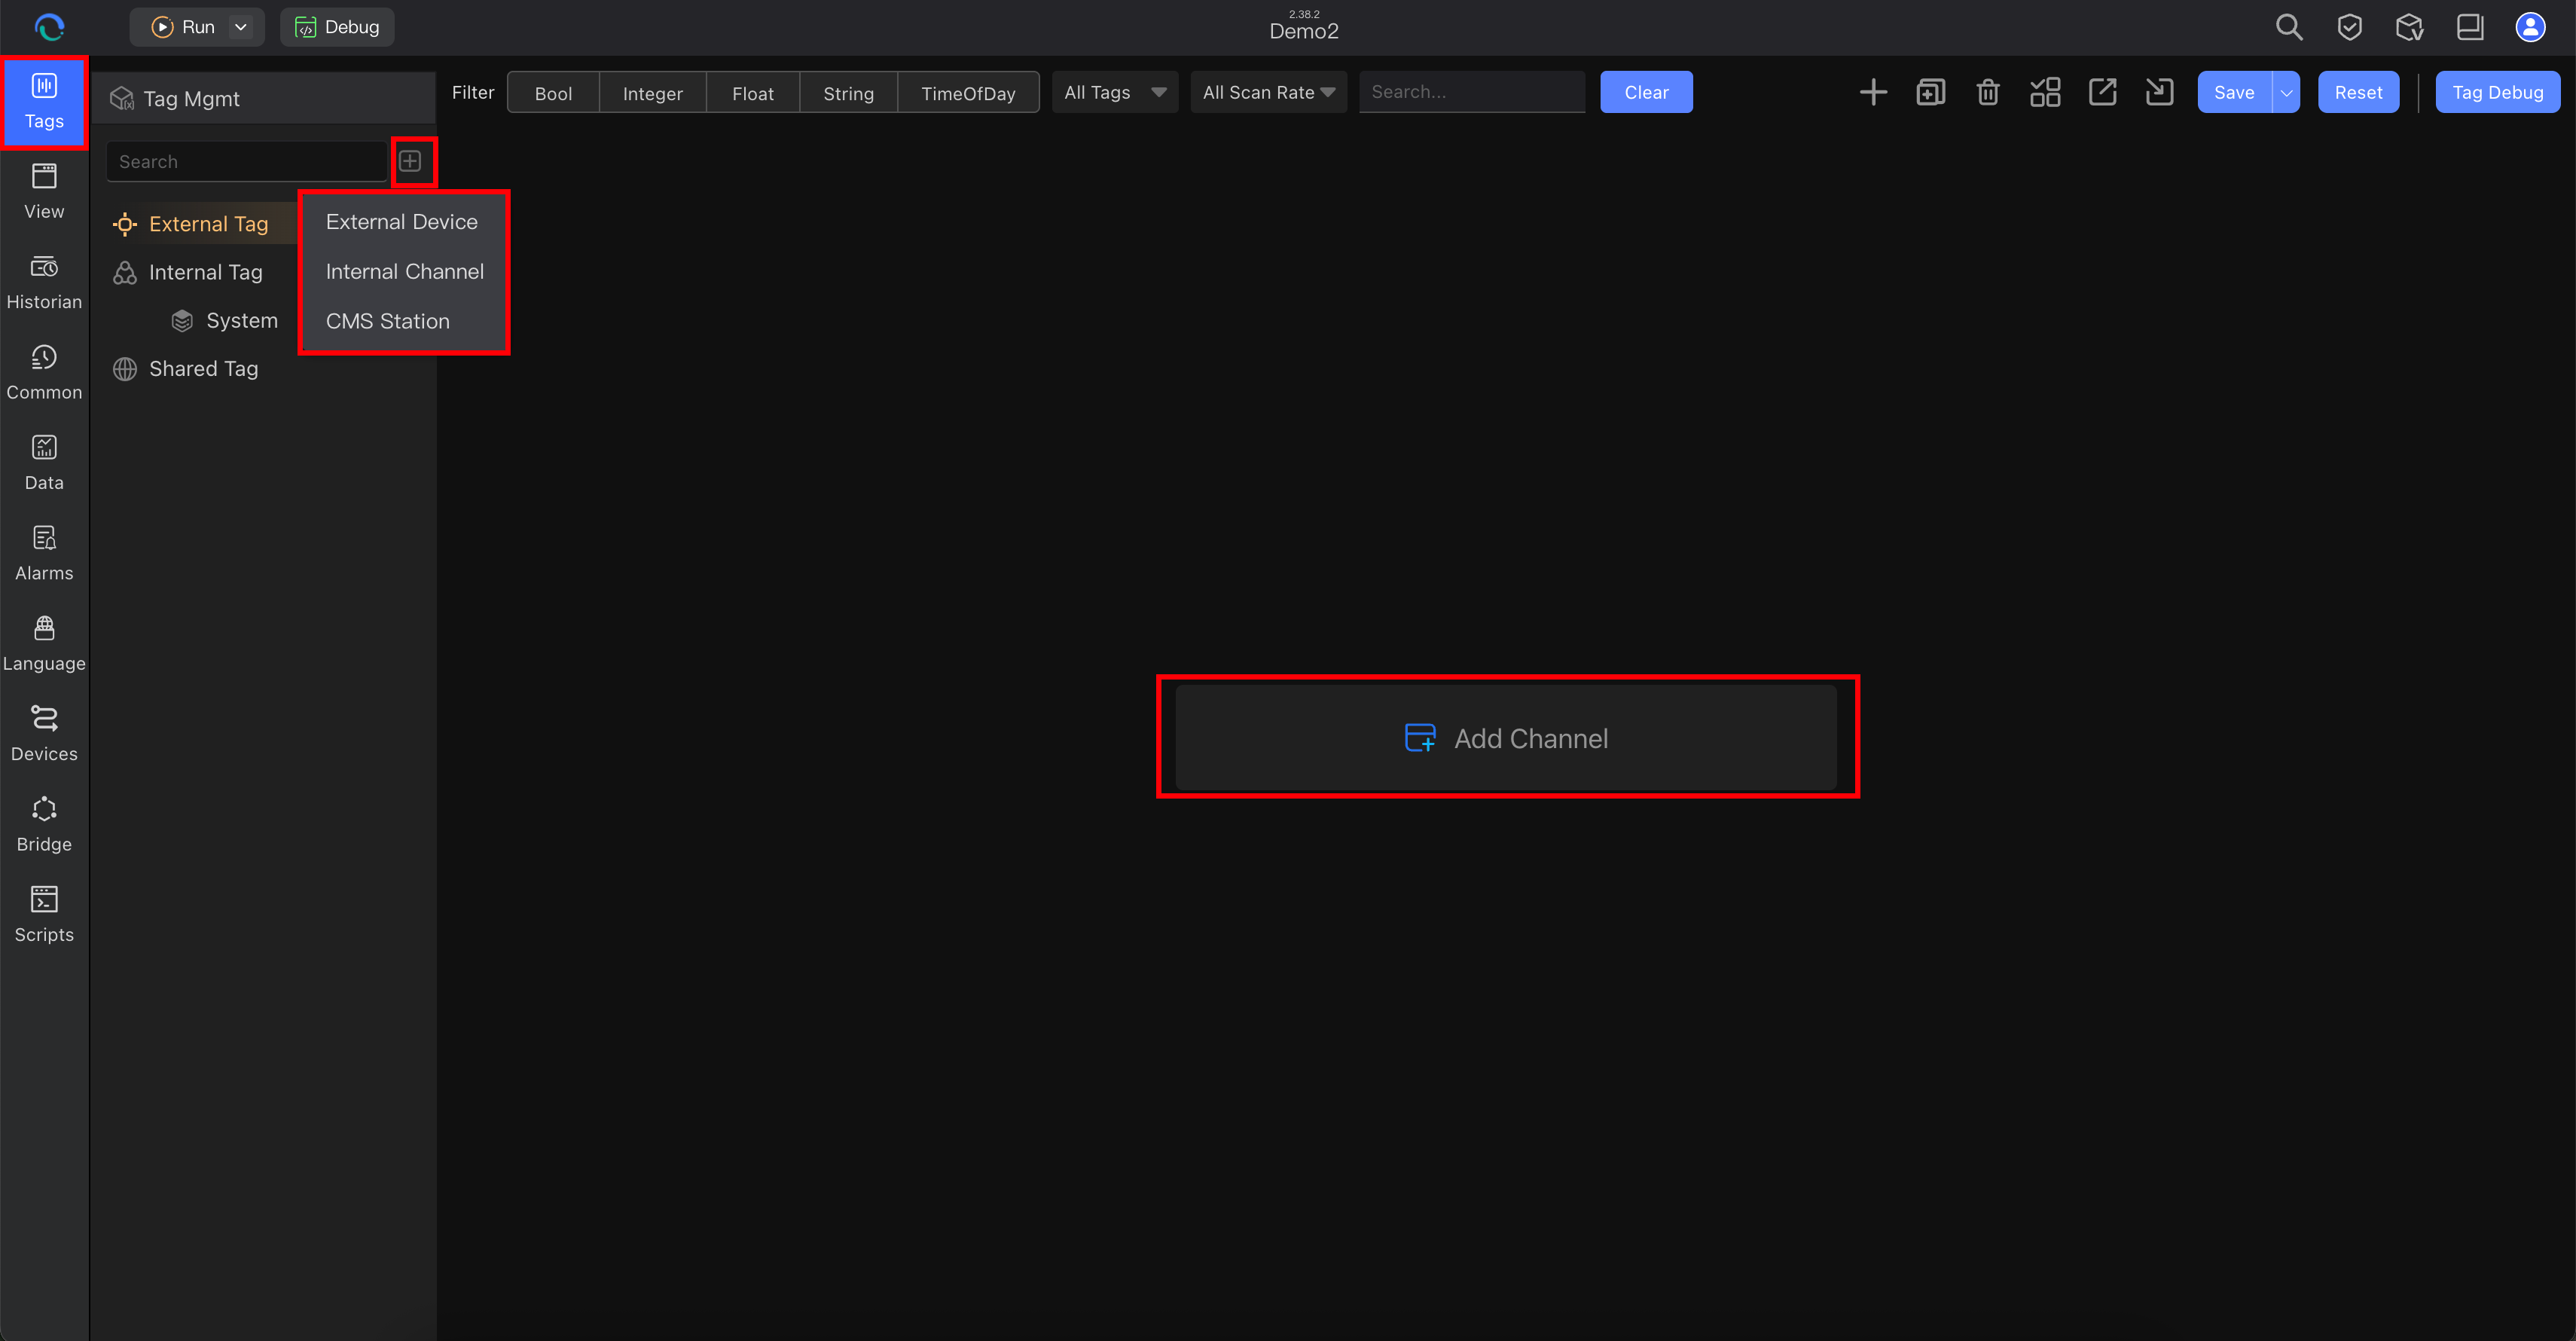
Path:
- left sidebar → Tags
Look for:
- device channels or internal channels
- tag groups
- tag names that will later be bound to components
If you are new to tag structure, read Understanding Tags.
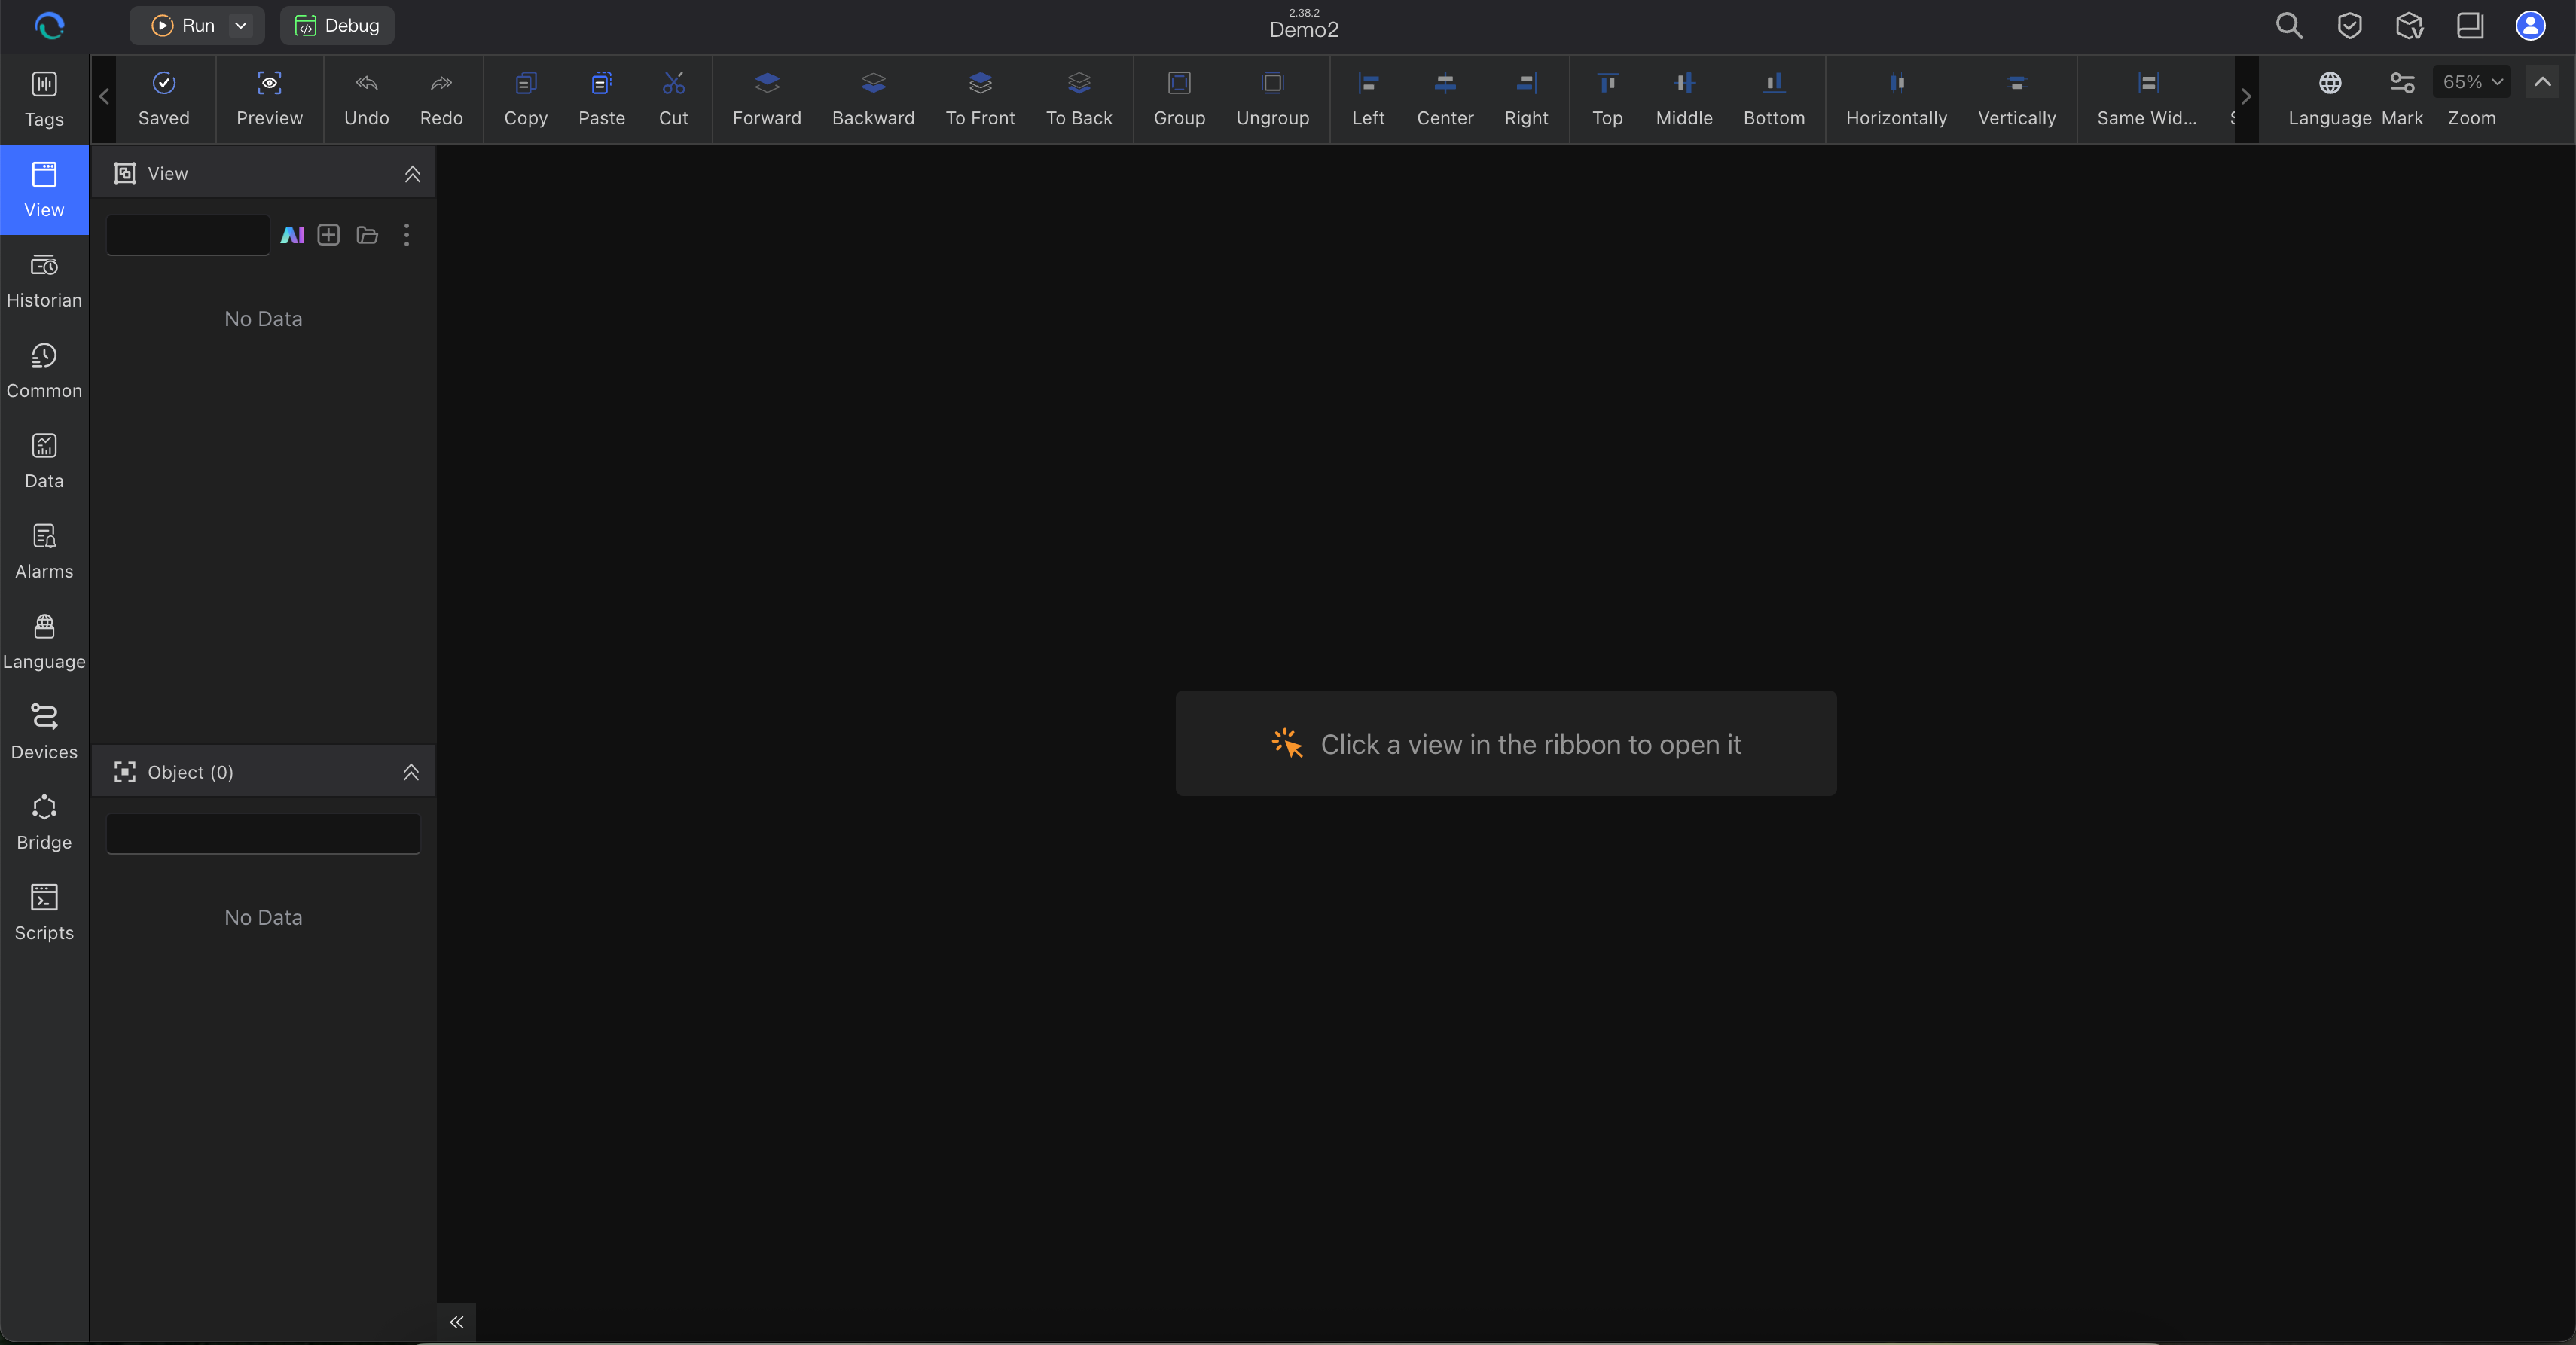
Views
Open the view area to see where operator screens are created and edited.
Path:
- left sidebar → View
Look for:
- where a new view is created
- where an existing view is opened
- where the canvas and property editing workflow will happen
If you are new to the editor layout, read Understanding Views.
Runtime
Find Run in the top toolbar and note what opens next.
For the first tour, only confirm where the runtime launch entry is located.
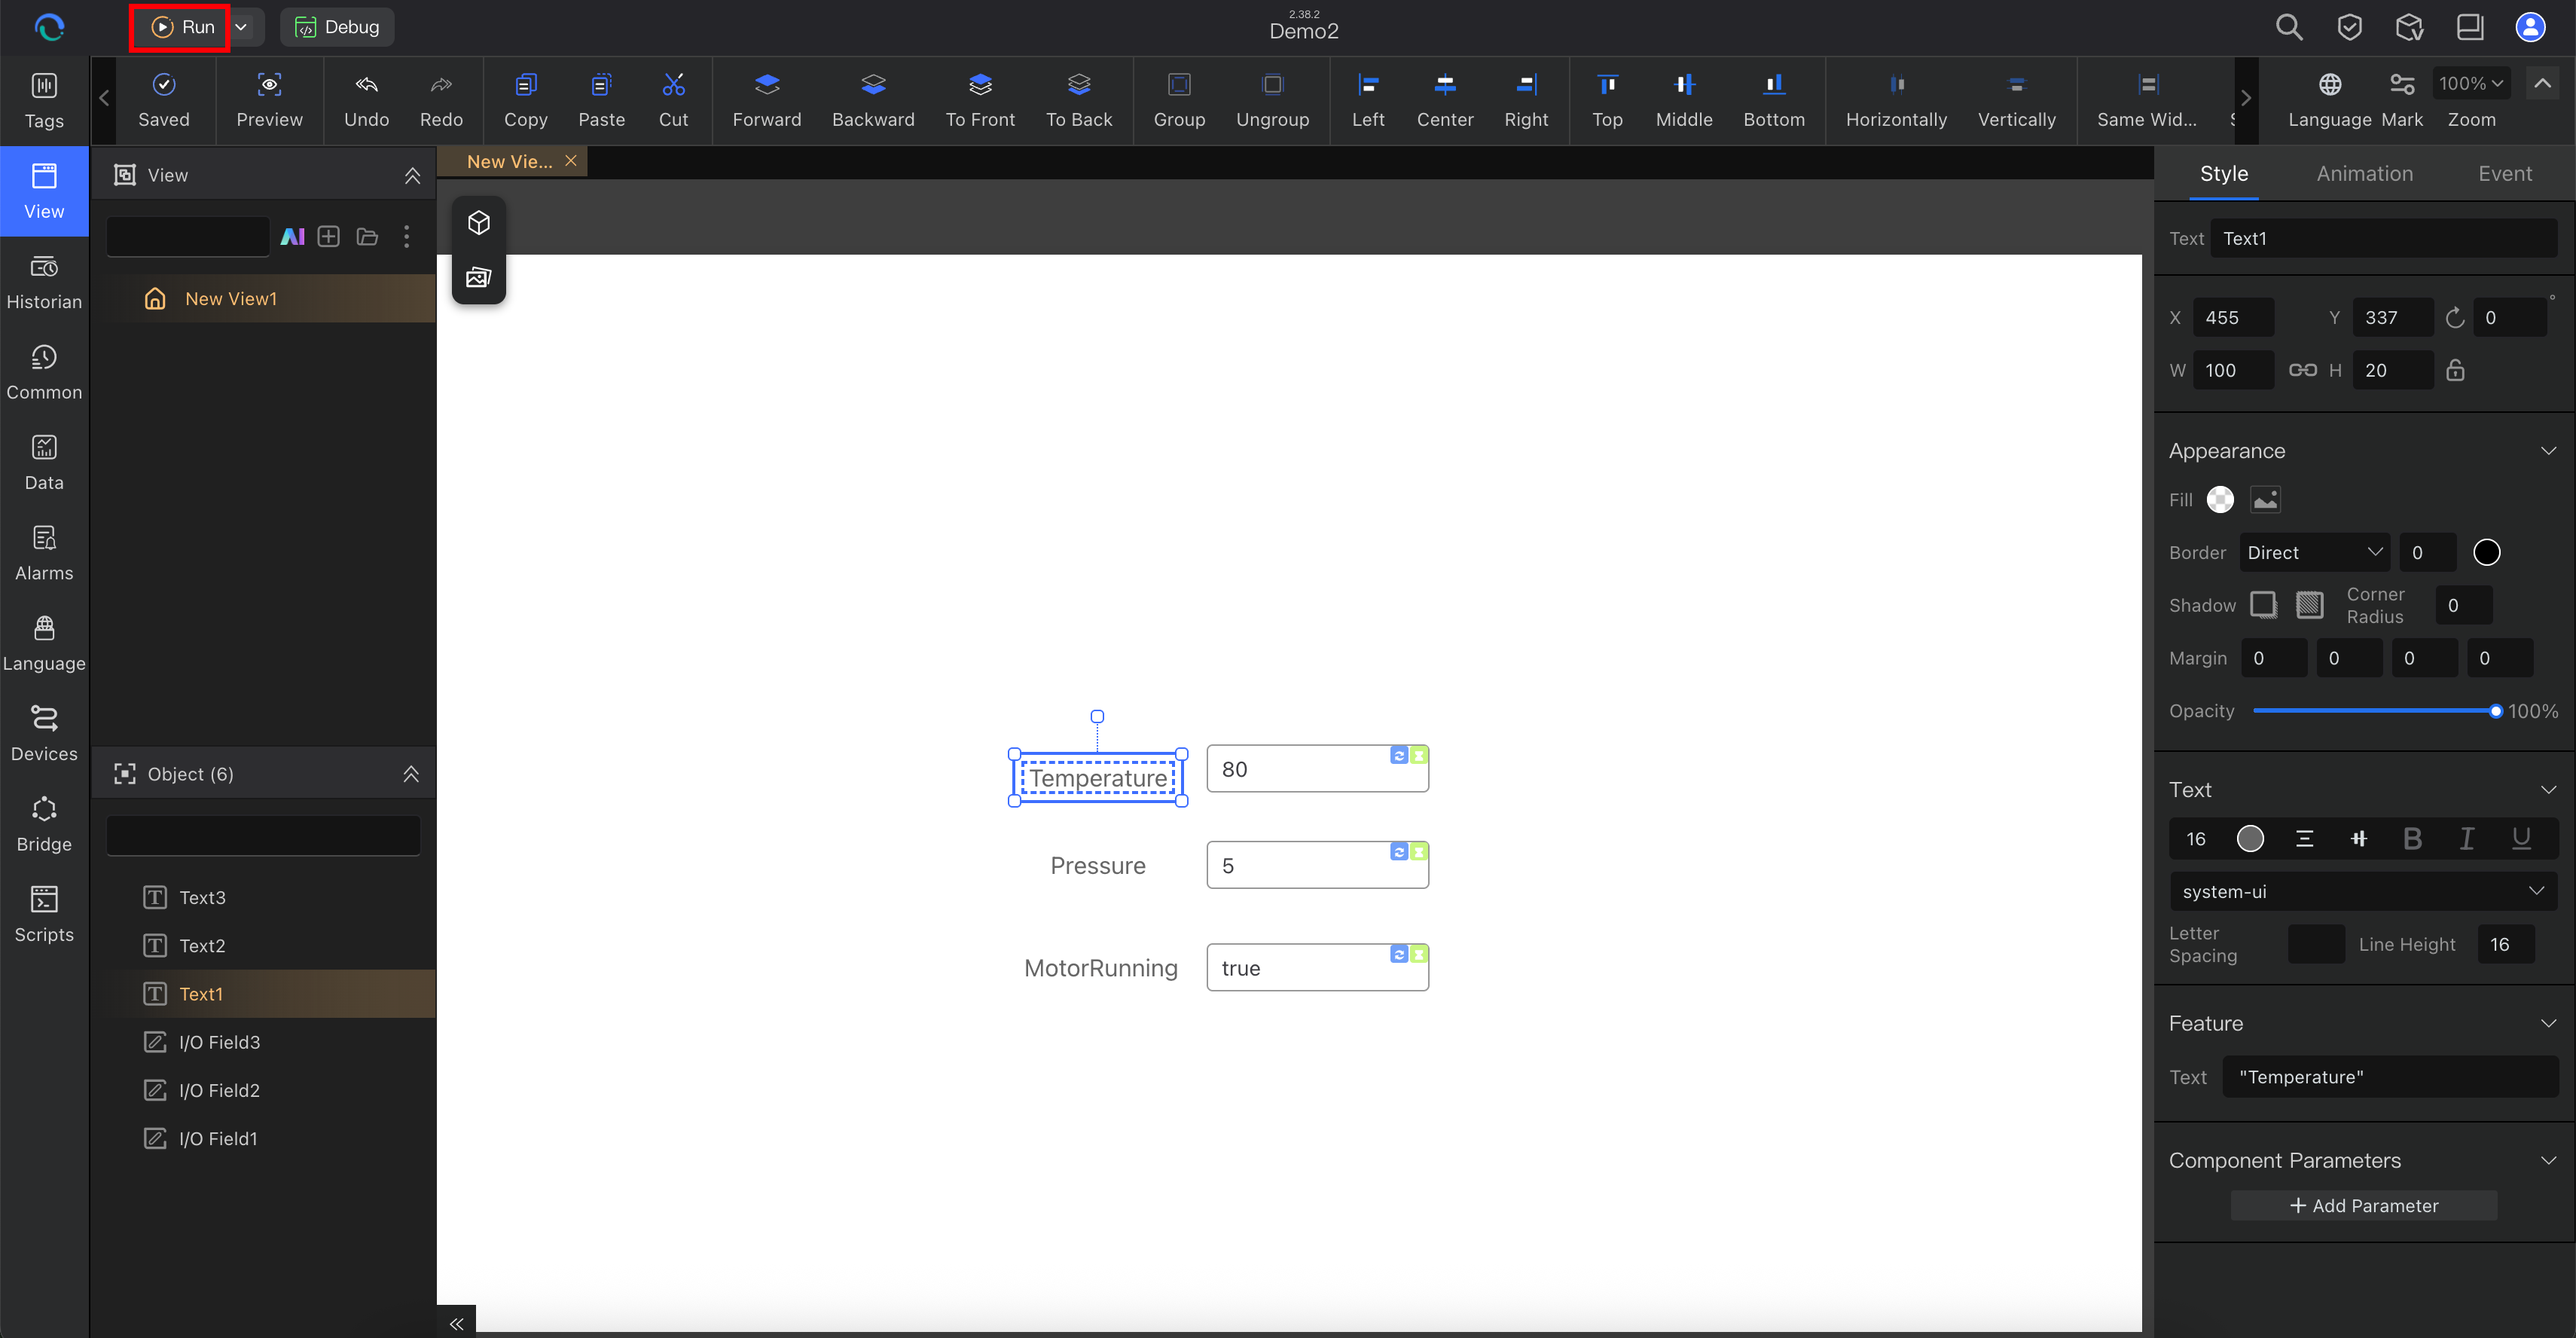
From here:
- confirm where the Run action is located
- note the path you will use later after tags and views are ready
- continue to the build guide for the first full runtime check
For a normal first-run check, the path is:
- click Run
- review the runtime flow shown by the product
- start required services if the product asks you to
- click Start Vision or the equivalent runtime start action
- wait for the runtime window or page to open
At this stage, only confirm the runtime path. Live values come later, after tag setup and binding in Build Your Project.
Step 4: What a Healthy First Launch Looks Like
Even before you build a full project, a healthy first launch means:
- you can reach the Project Manager
- you can open the engineering workspace
- you can locate the Tags area
- you can locate the View area
- you can find the Run path into runtime settings
Verification Checklist
You have completed this page successfully if you can answer these questions:
- Where do you open a project in Editor?
- Where are tags configured?
- Where are views created and edited?
- What happens after you click Run?
- Where will you go next to create your first project?
If Something Does Not Work
- You do not see the Project Manager: reopen Editor and confirm installation completed correctly
- You can enter the workspace but do not know what to do next: continue with Build Your Project
- You do not have hardware yet: start with internal tags in the build guide; use Static Simulation only if you want an external-channel workflow
- You are not sure whether to use Editor or Vision: review Core Concepts
- You are not sure what a tag, view, or runtime service means: read Core Concepts
Next Step
After you finish this workspace tour:
- go to Build Your Project to create your own small project
- start with internal tags first if you do not yet have a device
- adapt the same workflow to your own machine, line, or customer scenario