Download and Install
Use this page to install the correct client, complete first-time setup, and reach the project workspace.
Before You Install
Make sure you have:
- a Windows PC that meets the minimum requirements below
- permission to install desktop software
- internet access if you plan to auto-install MySQL
- one of these goals:
- build or edit a project in Editor
- run an existing project in Vision
If you are not sure, install Editor first.
System Requirements
| Item | Specification |
|---|---|
| Operating System | Windows 10 64-bit or higher |
| Processor | Intel i5-8500 or higher |
| Memory | 16 GB or higher |
| Storage | 500 GB or higher |
Choose the Correct Client
Use the package that matches your job:
| Client | Use it when | Typical user |
|---|---|---|
| Editor | You need to create projects, configure tags, design views, or test logic | engineers, integrators, developers |
| Vision | You only need to run a finished project and monitor equipment | operators, supervisors, runtime users |
Download AI SCADA
- Editor (Development Tool)
- Vision (Runtime Environment)
Install the Client
The screenshots below show the Editor installer. The Vision installer follows the same Windows setup pattern.
Step 1: Select the Installer Language
Run the setup file. Choose the installer language, then click OK.

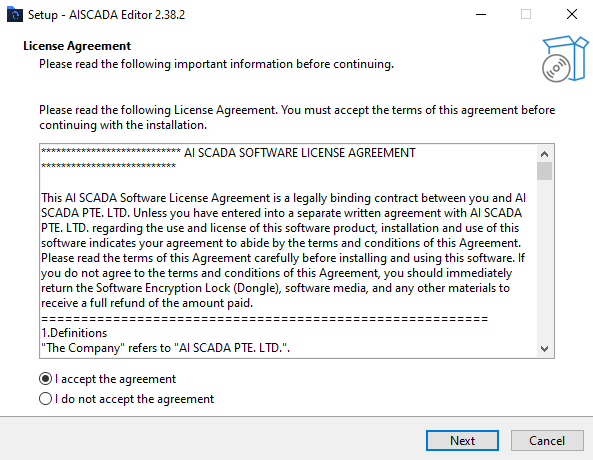
Step 2: Accept the License Agreement
Read the license agreement. Select I accept the agreement, then click Next.
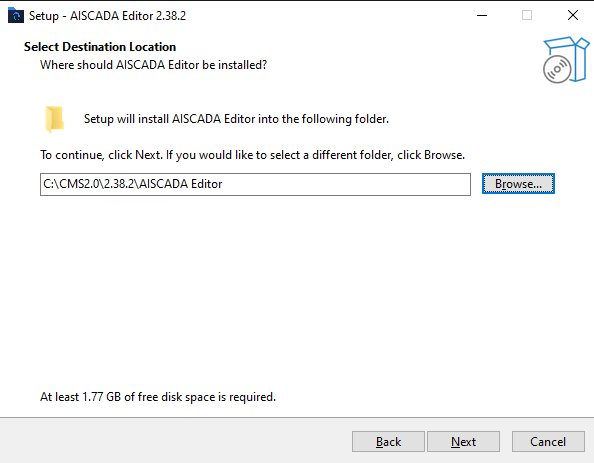
Step 3: Choose the Install Location
Keep the default path unless your IT policy requires a different location. Then click Next.
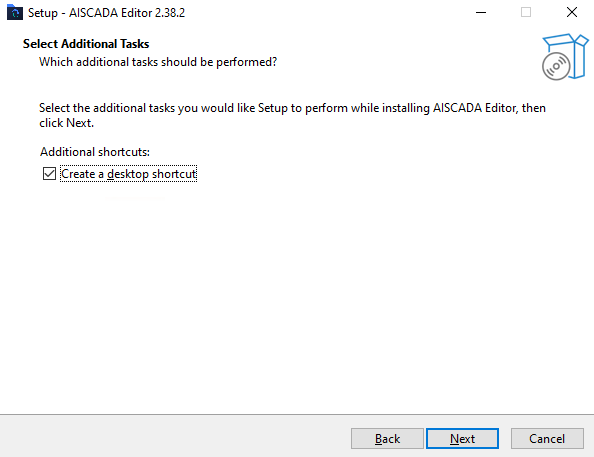
Step 4: Choose Additional Tasks
Keep Create a desktop shortcut selected unless your site has a different desktop policy. Click Next.
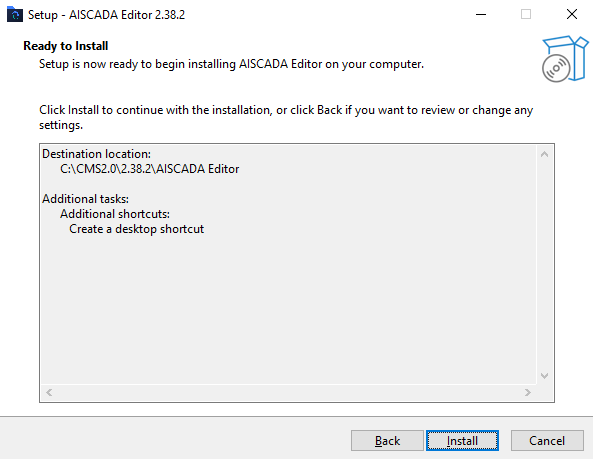
Step 5: Review and Start the Installation
Review the install path and additional tasks. Click Install.
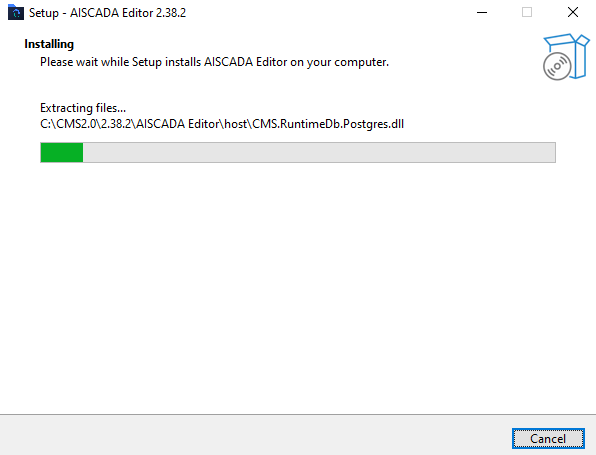
Step 6: Wait for File Extraction
Wait for the installer to finish copying files.
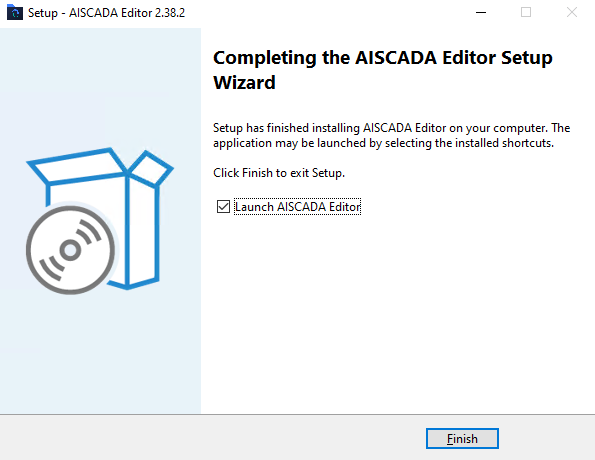
Step 7: Finish the Installer
When setup is complete, keep Launch AISCADA Editor selected and click Finish.
Wait for Service Startup
After the installer closes, the service monitor starts the required processes. Wait until startup is complete.
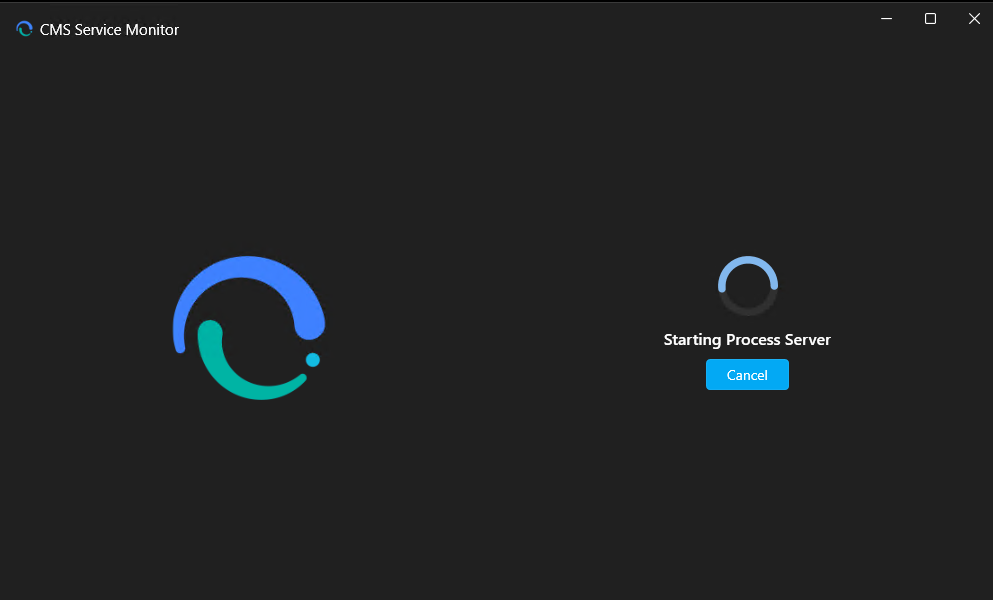
If this screen stays open for too long, wait a little longer before reopening the product. The first launch needs to prepare the runtime services.
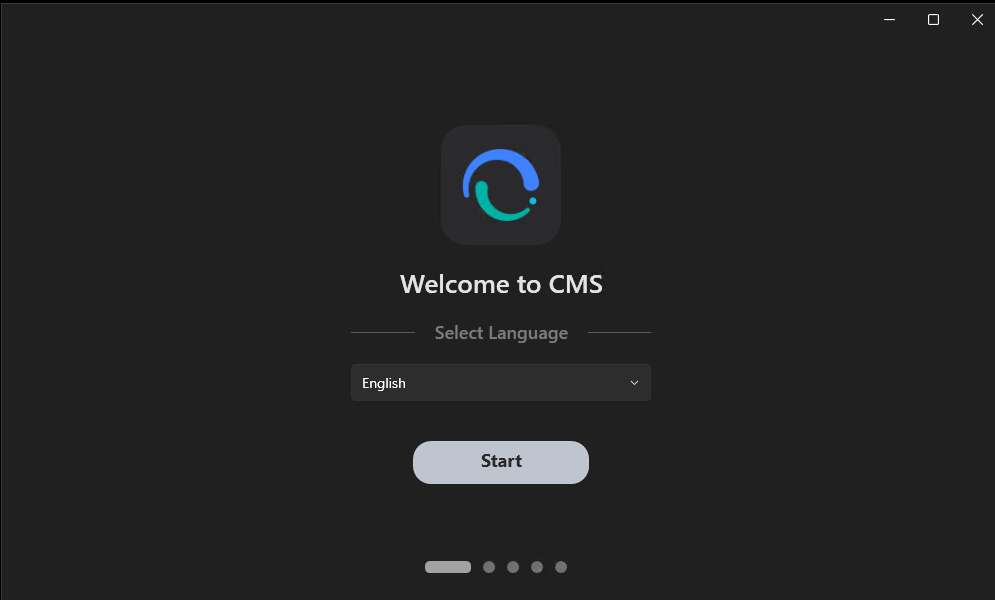
Complete First-Time Configuration
After the services start, the first-time configuration wizard opens.
Step 1: Choose the Product Language
Select the UI language, then click Start.
Step 2: Choose the Database Mode
Pick the database mode that matches your goal.
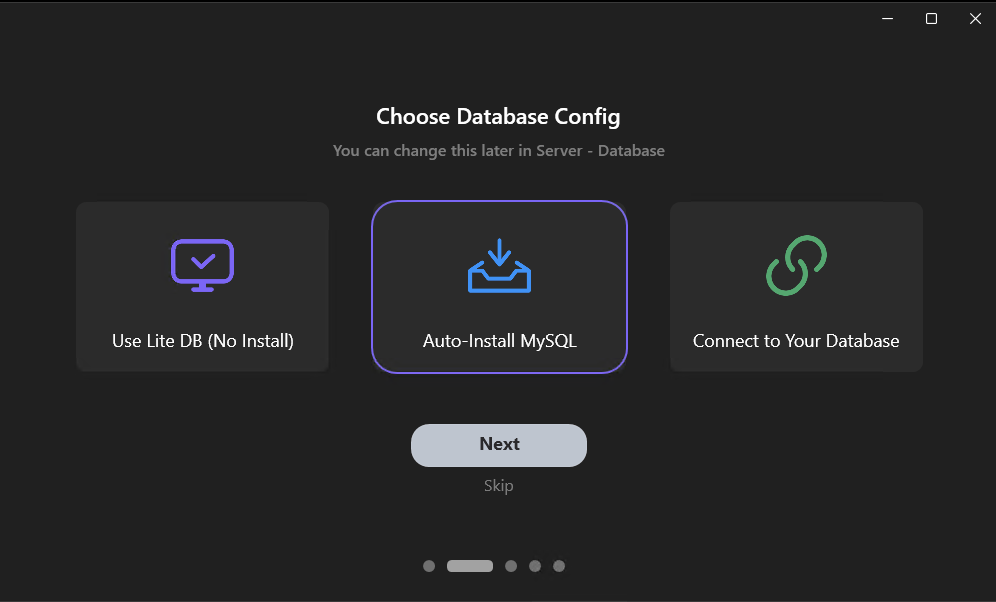
Use this rule:
| Mode | Use it when | Notes |
|---|---|---|
| Auto-Install MySQL | You want the recommended full first-time setup | Best default for engineering and feature coverage |
| Connect to Your Database | Your team already manages the database | Prepare the host, port, username, and password first |
| Use Lite DB (No Install) | You want the fastest evaluation path | Good for trials, not the best long-term production choice |
Recommended decision for most first-time users:
- choose Auto-Install MySQL for a full evaluation
- choose Lite DB only if you need the fastest possible trial
Step 3A: Auto-Install MySQL
If you choose Auto-Install MySQL, confirm the install path, port, default username, and default password.
If you change the defaults, record them before you continue.
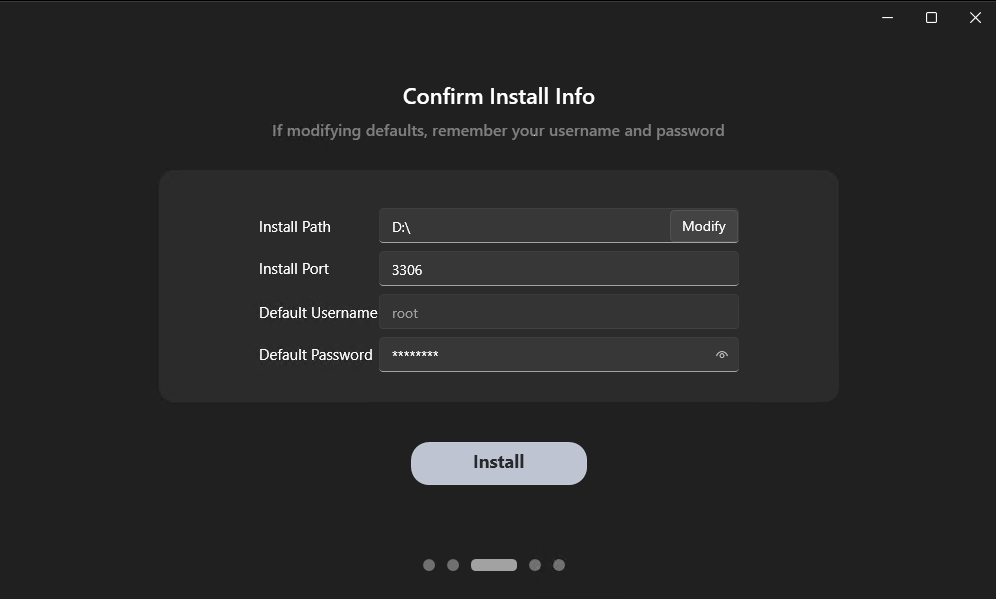
Then click Install.
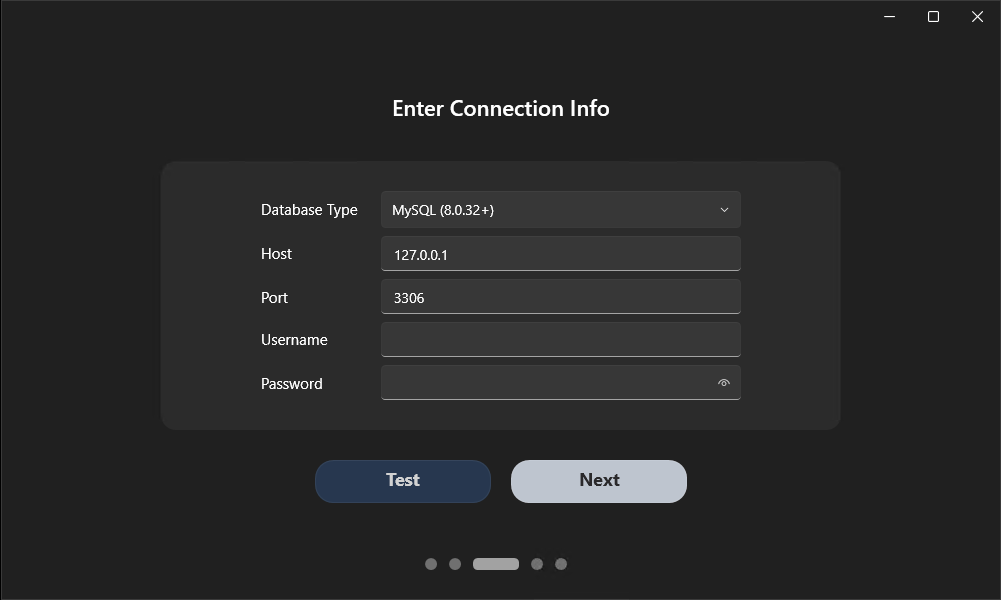
Step 3B: Connect to Your Database
If you choose Connect to Your Database, enter the database type, host, port, username, and password.
Click Test first. Continue only after the connection succeeds.
Step 3C: Use Lite DB
If you choose Use Lite DB, continue with the lightweight evaluation flow. No external database setup is required.
Step 4: Review Launch and Improvement Options
Review the launch options and analytics settings. Keep the defaults unless your project or IT policy requires a change.
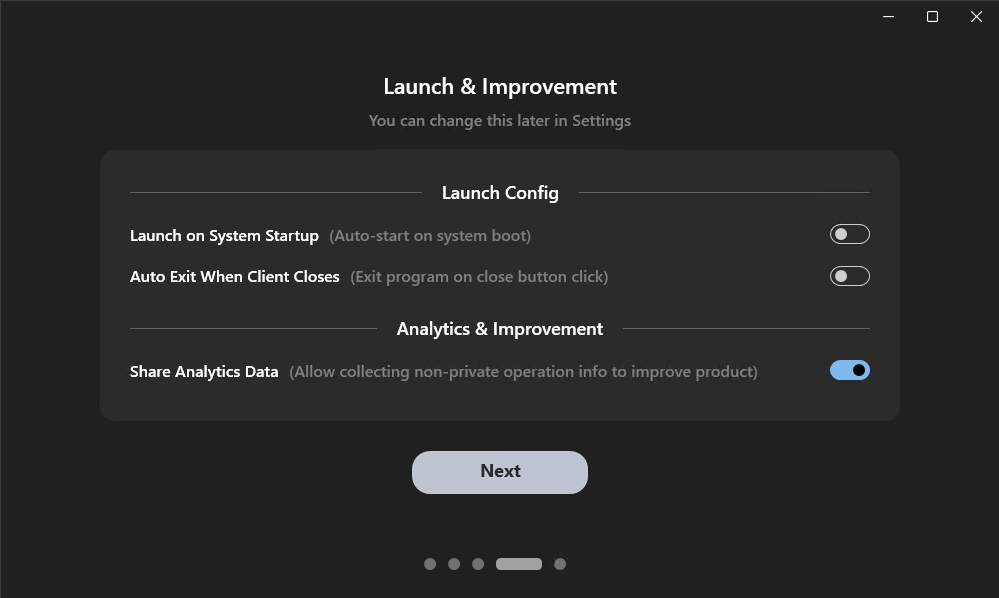
Then click Next.
Step 5: Finish First-Time Configuration
When configuration is complete, click Start Now.
What You Should See Next
After you click Start Now, AI SCADA should continue to the engineering entry point.
If you installed Editor, your next usable screen should be the Project Manager, where you can:
- create a blank project
- open an existing project
- enter the engineering workflow
If you installed Vision, your next step is different:
- prepare a finished project file
- load it into Vision
- configure the runtime project before monitoring
Troubleshooting First Launch
If first launch fails, check these items first:
- The installer finishes but the product does not open: reopen AI SCADA from the desktop shortcut or Start menu
- The service monitor stays on the startup screen: wait for the first startup to finish, then reopen the product if needed
- Auto-Install MySQL fails: switch to an existing database or Lite DB, then continue the evaluation
- The existing database test fails: check the host, port, username, password, and database type before you click Next
- You installed Vision but expected to build a project: install Editor instead
- You only need to evaluate features without hardware: continue with First Launch and Workspace Tour, then start with internal tags in Build Your Project
Next Step
Continue with one of these paths:
- First Launch and Workspace Tour to confirm the environment and find the main work areas
- Core Concepts if you want a short product and architecture overview before building
- Build Your Project to create your first working project